Outdoor side tables are a must-have for any outdoor space, giving you the perfect spot to set down your drink, snacks, or even a good book while you relax or host friends. With many options available, picking your first one can feel simple if you know what to look for.
Here are the basics to help you find the best outdoor side tables for your patio, balcony, or garden.
Size and scale come first:
Before you fall for a style, think about size. Measure the space next to your chair or sofa where the table will go. You want it to be within easy reach without bumping your knees. Also, consider the table’s height; it should be level with, or just below, the arm of your seating. A table that is too tall or too large can make a cozy spot feel clumsy.
Pick a tough material:
Outdoor furniture faces sun, rain, and wind. The material you choose must handle this. Popular choices include:
Metal: Tables made from aluminum are light and resist rust. Wrought iron is very strong but can be heavy.
Wood: Teak and acacia are sturdy woods that turn a silvery grey over time. Most other woods want a protective sealant.
Resin or plastic: These are budget friendly, easy to clean, and come in many colors. Look for sturdy, UV protected pieces so they don’t fade quickly.
Concrete: Very heavy and stable, great for windy areas. It can develop a natural patina outdoors.
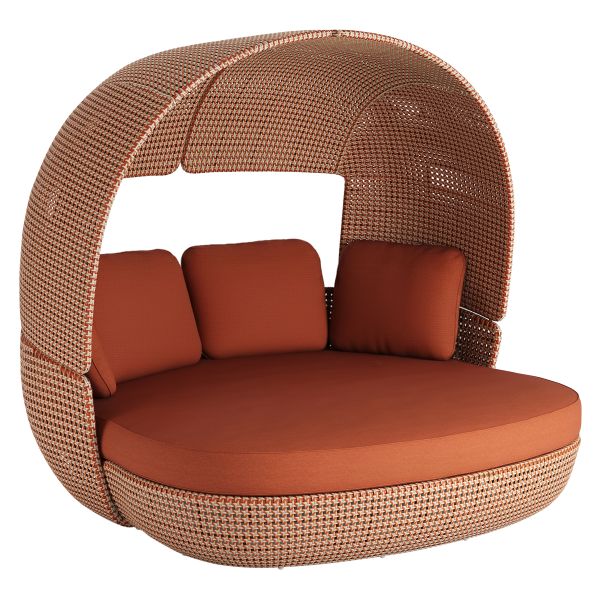
Find your style:
Your table should look good with your other outdoor furniture and your home’s style. Do you like a modern look? A simple metal table might work. Prefer a natural feel? A wooden slice table could be perfect. A classic space might suit a wrought iron design. The goal is to choose a piece that makes you happy and fits the vibe.
Think about storage:
Will your table stay outside all year? If you have harsh winters or want to keep it looking new, think about storage. Lightweight tables made of resin or aluminum are easy to move. If you pick a heavy concrete table, plan for it to live in one spot permanently.
Check for stability:
A wobbly table is annoying. Look for a sturdy build. Tables with a solid base or legs that splay outward tend to be more stable, especially on uneven ground. Give a table a gentle test wiggle before you decide.